Different disciplines and coaches seem to have rather rigid instructions around the minutiae of handstand form, especially regarding the hands. Here at Handstand Factory, we like to take a varied, individualistic approach. Long story short, it’s as Mikael said: “Find a hand position that you like where you can apply pressure on the floor with nicely. Don’t ever think about it again.” But if you’re inclined to read into the nuance behind this statement, we’ve outlined the differences in hand positioning and why practitioners end up preferring particular orientations.

Hand Position Options
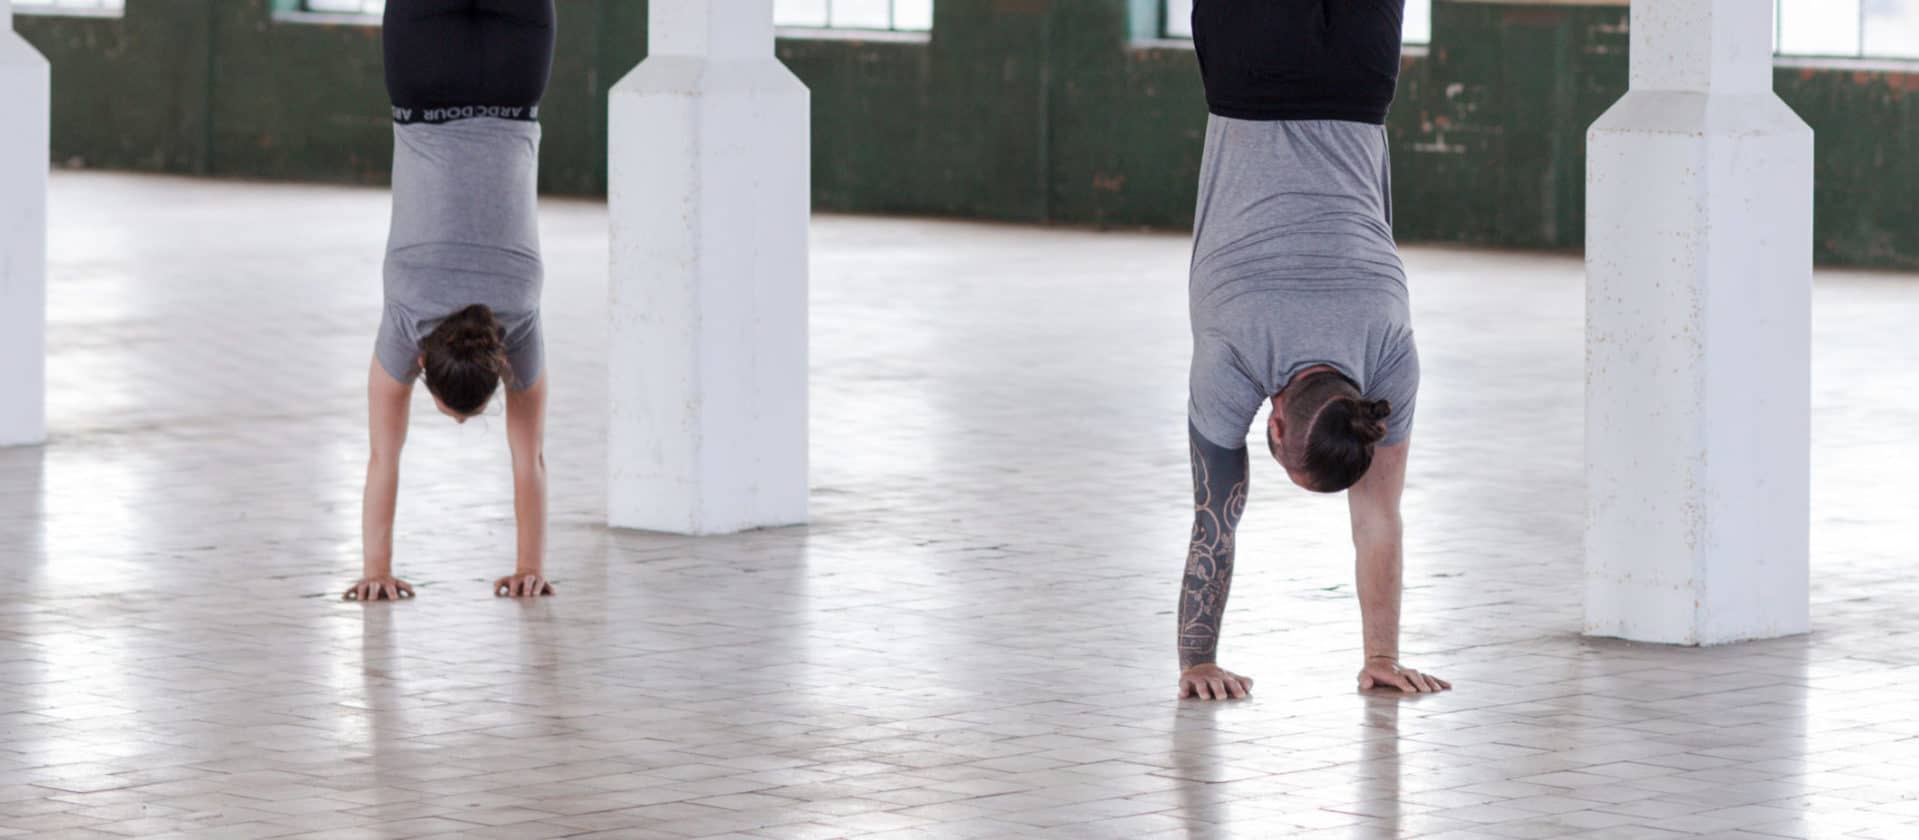
We don’t believe in one particular form of hand positioning for handbalancing. Our models in the Handstand Factory programs for example cover all those hand positions – Seve usually balances with completely flat hands. Meanwhile Isaac, Elise and Josh use different styles of cambered grip or spider fingers. Morgan on the other hand, has developed a pyramid (or cupping) style grip on the floor. While there is likely unique, underlying biomechanical reasons that each of our models have a different style, we can make some generalizations about what makes these three major hand positions useful. Like with hand width, we encourage you to play with all of them to discover which suits your style best.
Flat Hands
Having your hands flat gives you a wide surface area, which affords you an opportunity to very deliberately control your weight distribution to find and catch your balance. Many who grip the ground with flat hands also spread their fingers far apart, which can give you some more lateral control. This is the hand position many start their hand balancing journey with, as the cue is rather simple. However, without intent of where you bear weight, merely spreading your hands flatter will not help your balance. We outline where you should bear your weight in our Push program theory section. So if you’re struggling with this hand position, focus on where your weight is distributed within your hands, which might address your frustrations.

Spider Grip
Spider grip is the other common hand position in handbalancing. Also known as cambered hands, or colloquially as spider-fingers, your digits are crimped while the whole of your palm makes contact with the ground. Ultimately the thing that will keep you balanced, regardless of hand orientation, is applying pressure into the floor. Many people find that spider-fingers gives them additional leverage to create this pressure in their fingertips. So if you struggle in pushing back against overbalance in particular in a flat hands position, see if switching to the spider grip gives you the ‘oomph’ you need to save your hold.

Pyramid Grip
A bit less common than the above options, this cupping-style grip Emmet first came across in Berlin from Sergey Timofeev. If you check his Instagram, you’ll notice that he’s created an arch in his hands where he basically does not have his first knuckles touching the ground. In heavier shapes he’ll even tuck his thumb under to create a ‘mini-block’ in his palm. After witnessing this variant, Emmet found it to be a winning grip among his students who had greater than 110-120º extension in the wrist.

Hand Width – Narrow or Wide?
In regards to general hand positioning, much like the grip you use, it comes down to preference a lot. For those who struggle with shoulder external rotation, having the gap between your hands be narrow and turning your hands out a bit can help open your shoulders up and lock them into a better line. Others, like Mikael for example, actually turn the hands in slightly, so his middle finger is pointing forwards instead of his index finger. When stacking so many joints on top of each other, the optimal position for you will come down to your individual shoulder anatomy. So its best to play around with the position and figure out what works for your body.
If you’re unsure what width is optimal for you, we recommend to start having the hands pretty much under the shoulders directly. This will ensure the best stack, and make sure the weight can be in the middle of the hand and your joints can stack in the most efficient way. But if things don’t feel quite right, start making minor tweaks in both the width of your hands in conjunction with the external or internal rotation of your wrists. Take notes on how the combos feel, and you’ll find your ideal orientation pretty quickly.

When Having a Wider Stance with the Hands is Useful
We hear you calisthenics athletes. We realize that many of those who practice calisthenics use a wider stance, because it enables them to apply the handstand in a calisthenics specific manner. For example, going into a planche from a handstand or performing handstand push-ups. In our HSPU program, we suggest using a wider grip for this very reason. So if the above movements are what you use your handstand, it makes sense to also learn the handstand with a wider stance.

However, if you want to progress to higher handstand specific skills, like shape-changing or one-arm handstands, practicing a narrower, shoulder width stance will be beneficial in the long run as there is technique carry-over involving shoulder positioning in these handbalancing skills. And if you can do both, choose your width based on what you want to do that session. We recommend narrower for handbalance skill training, wider for calisthenics style skills such as the HSPU or planche work.
Ultimately, hand positioning for handstands is largely a personal preference. What keeps you upside-down is ultimately going to be your go-to technique. But if you are working towards specific handbalancing skills, playing with variations in your stance and grip will be necessary, and maybe even reveal your optimal hand positioning.