
Press Prep Training Session
Without further ado, let’s start prepping you for the press! We are focused on the quality of the reps with these exercises, so don’t rush through it and take the full rest periods. Imagine how each of these drills contributes to the press, and hold that intention and look for those sensations as you perform the movements.
- A: Scapular Push to Standing Pike
- 3 sets
- 10 – 15 reps
- 90s rest between sets
- B: Stomach-to-Wall ROM Press
- 5-8 total attempts. Rest as needed between attempts.
- C: Wall Tuck Slides
- 3 sets
- 5 reps
- 60-90s rest between sets
- D: Press Lean Isometrics (optional)
- 2-3 sets
- 10-15s hold
- 60-90s rest between sets
- Skip if fatigued from the Wall Tuck Slides
- E1: Standing Side Leg Lifts Isometric + Lifts
- 3 sets
- 3x10s iso holds + 5 lifts
- 90s rest between sets
- For a set, do both legs then do a set of E2 before your next set of E1
- E2: Straddle Jefferson Curls
- 3 sets
- 5 reps
- 90s rest between sets
- Alternate with E1 sets
Scapular Push to Standing Pike
Key Details:
- Always focus on pushing straight down into the ground.
- Keep arms straight and weight in the middle of the hand.
- Look at the floor through the entire movement and push through traps when you reach the top of the motion.
Description:
This exercise is a great way to sense how scapula articulation is key to finding the shoulder position you want and how your trapezius muscles stack your shoulders over your hands as you move your hips upwards. The idea here is to trust the shoulders to move yourself up, though you are still applying some pressure with your toes to allow for yourself to lift the hips. As you reach the top position, make sure you feel that your traps are working. You want to keep the weight in the middle of the palms at all times.
If you feel you need to lean a lot forwards or bend your arms during this movement, it is likely that you will need to do some work on your shoulder mobility. If you feel a strong stretch in the hamstrings while performing this exercise, you can bend your knees slightly or place your hands further forwards. Work with what you have and develop your pike and/or shoulder flexibility separately.
Stomach-to-Wall ROM Press
Key Details:
- Your distance from the wall will be relative to your straddle and pancake
flexibility. - Keep your feet on the wall for assistance.
- Push high through your shoulders to keep them from falling forwards, but you need to lean forwards to some degree (ideally rounding your back).
- As your legs move into the lower ranges, close them so they stay on the wall.
- To advance the exercise, while maintaining control, go to a lower spot on the wall.
- You can also advance by increased repetitions.
- Resist planching your shoulders forwards.
Description:
This exercise is useful even for those who can do a press as it allows us to easier scale up towards multiple reps in a row without being hindered by balance.
We use the stomach-to-wall straddle range-of-motion press because it allows you to practice the movement without having to worry about balancing, and you can scale it’s difficulty using the wall. The setup for this is to begin in a straddle with your feet touching the wall; you then pull your legs down the wall. Your hip flexors will initiate the movement to pull your legs into a closed straddle, and from there your abdominals will need to crunch together to begin articulating your lower back. As this is happening, push your shoulders up high to counteract the impulse to lean too far forwards.
We do want some degree of forward lean that the shoulders and upper back will resist to build the relevant strength. Often this will be felt in the deltoids and mid traps as the shoulder tries to flex hard to not drop forwards.
As you go deeper into the press-down, you will need to begin gathering your legs from a pancake towards a pike to keep them on the wall efficiently. In the beginning you might experience a sudden drop as you move into a new range. This happens because your shoulder can no longer support you in the position, and unless your shoulder drops, your centre of mass travels beyond your hands, making you fall forwards.
You will immediately notice when you go too low as you will fail to press back up and need to come off the wall. This will happen at the exact point where your shoulders can no longer keep the pressure needed to keep the centre of mass over the base of support. You can begin small at first and increase the range the better you become at them.
This exercise does require a fair bit of practice to get technically correct, but it is crucial for learning how to coordinate the press movement and developing some strength.
Diagnostics:
If you can not keep straight legs or need to move far away from the wall, working on hip mobility is clearly a priority.
If you feel like you have to lean a lot forwards in the shoulders, try tuck slides and see if you have a similar problem there. If so, its likely a shoulder strength/mobility issue.
Wall Tuck Slides
Key Details:
- Keep knees together and push high through the shoulders as you pull your legs down.
- Find a distance where you will be forced to resist the forward lean in the shoulders rather than sticking the chest out into a mini-Mexican.
- If your upper back fires hard, you are likely doing it correctly.
Description:
When doing this exercise with the purpose of learning a press, we need the shoulders to move forwards to a degree, but we want to push the shoulders high so the upper back is the main driving force.
Tuck slides work the upper back and shoulders very similarly to the wall ROM press, but it has a lower demand on hip mobility.
Go only as low as you can manage around 5 reps. The depth you can reach will give you a frame of reference for how low down you can currently hold your legs with some wall support.
This exercise forces you into a position where you need to work hard to keep your shoulders flexed enough to not fall forwards. The degree you can slide down the wall will be limited by your strength and flexibility. Those with good passive and active range will often find this to be rather easy, while those who lack range will need to work very hard to stay stacked.
One thing to watch out for, especially if you have very flexible shoulders, is to not let yourself get away with pushing your chest out to accommodate the hips and arching your back (as you would in a Mexican handstand). If you do this, you will end up resting in your end range of motion, as opposed to deliberately putting your body into underbalance, which builds the strength we are looking for.
If done correctly, this exercise builds great strength in the upper back and is an excellent way to bridge the gap towards the more advanced movements.
Diagnostics:
If done correctly, tuck slides will quite clearly show if your hamstring/hip mobility is your main issue or if its related to the shoulder region. If these are heavy, you will benefit from building up capacity at them.
If you feel forced to lean forwards in these, it is likely you need to develop your overhead flexibility and possibly your stacked handstand as well. However , working on tuck slides themselves with a reduced range where you work on resisting the forwards lean is also useful to help develop this range.
Press Lean Isometric
Key Details:
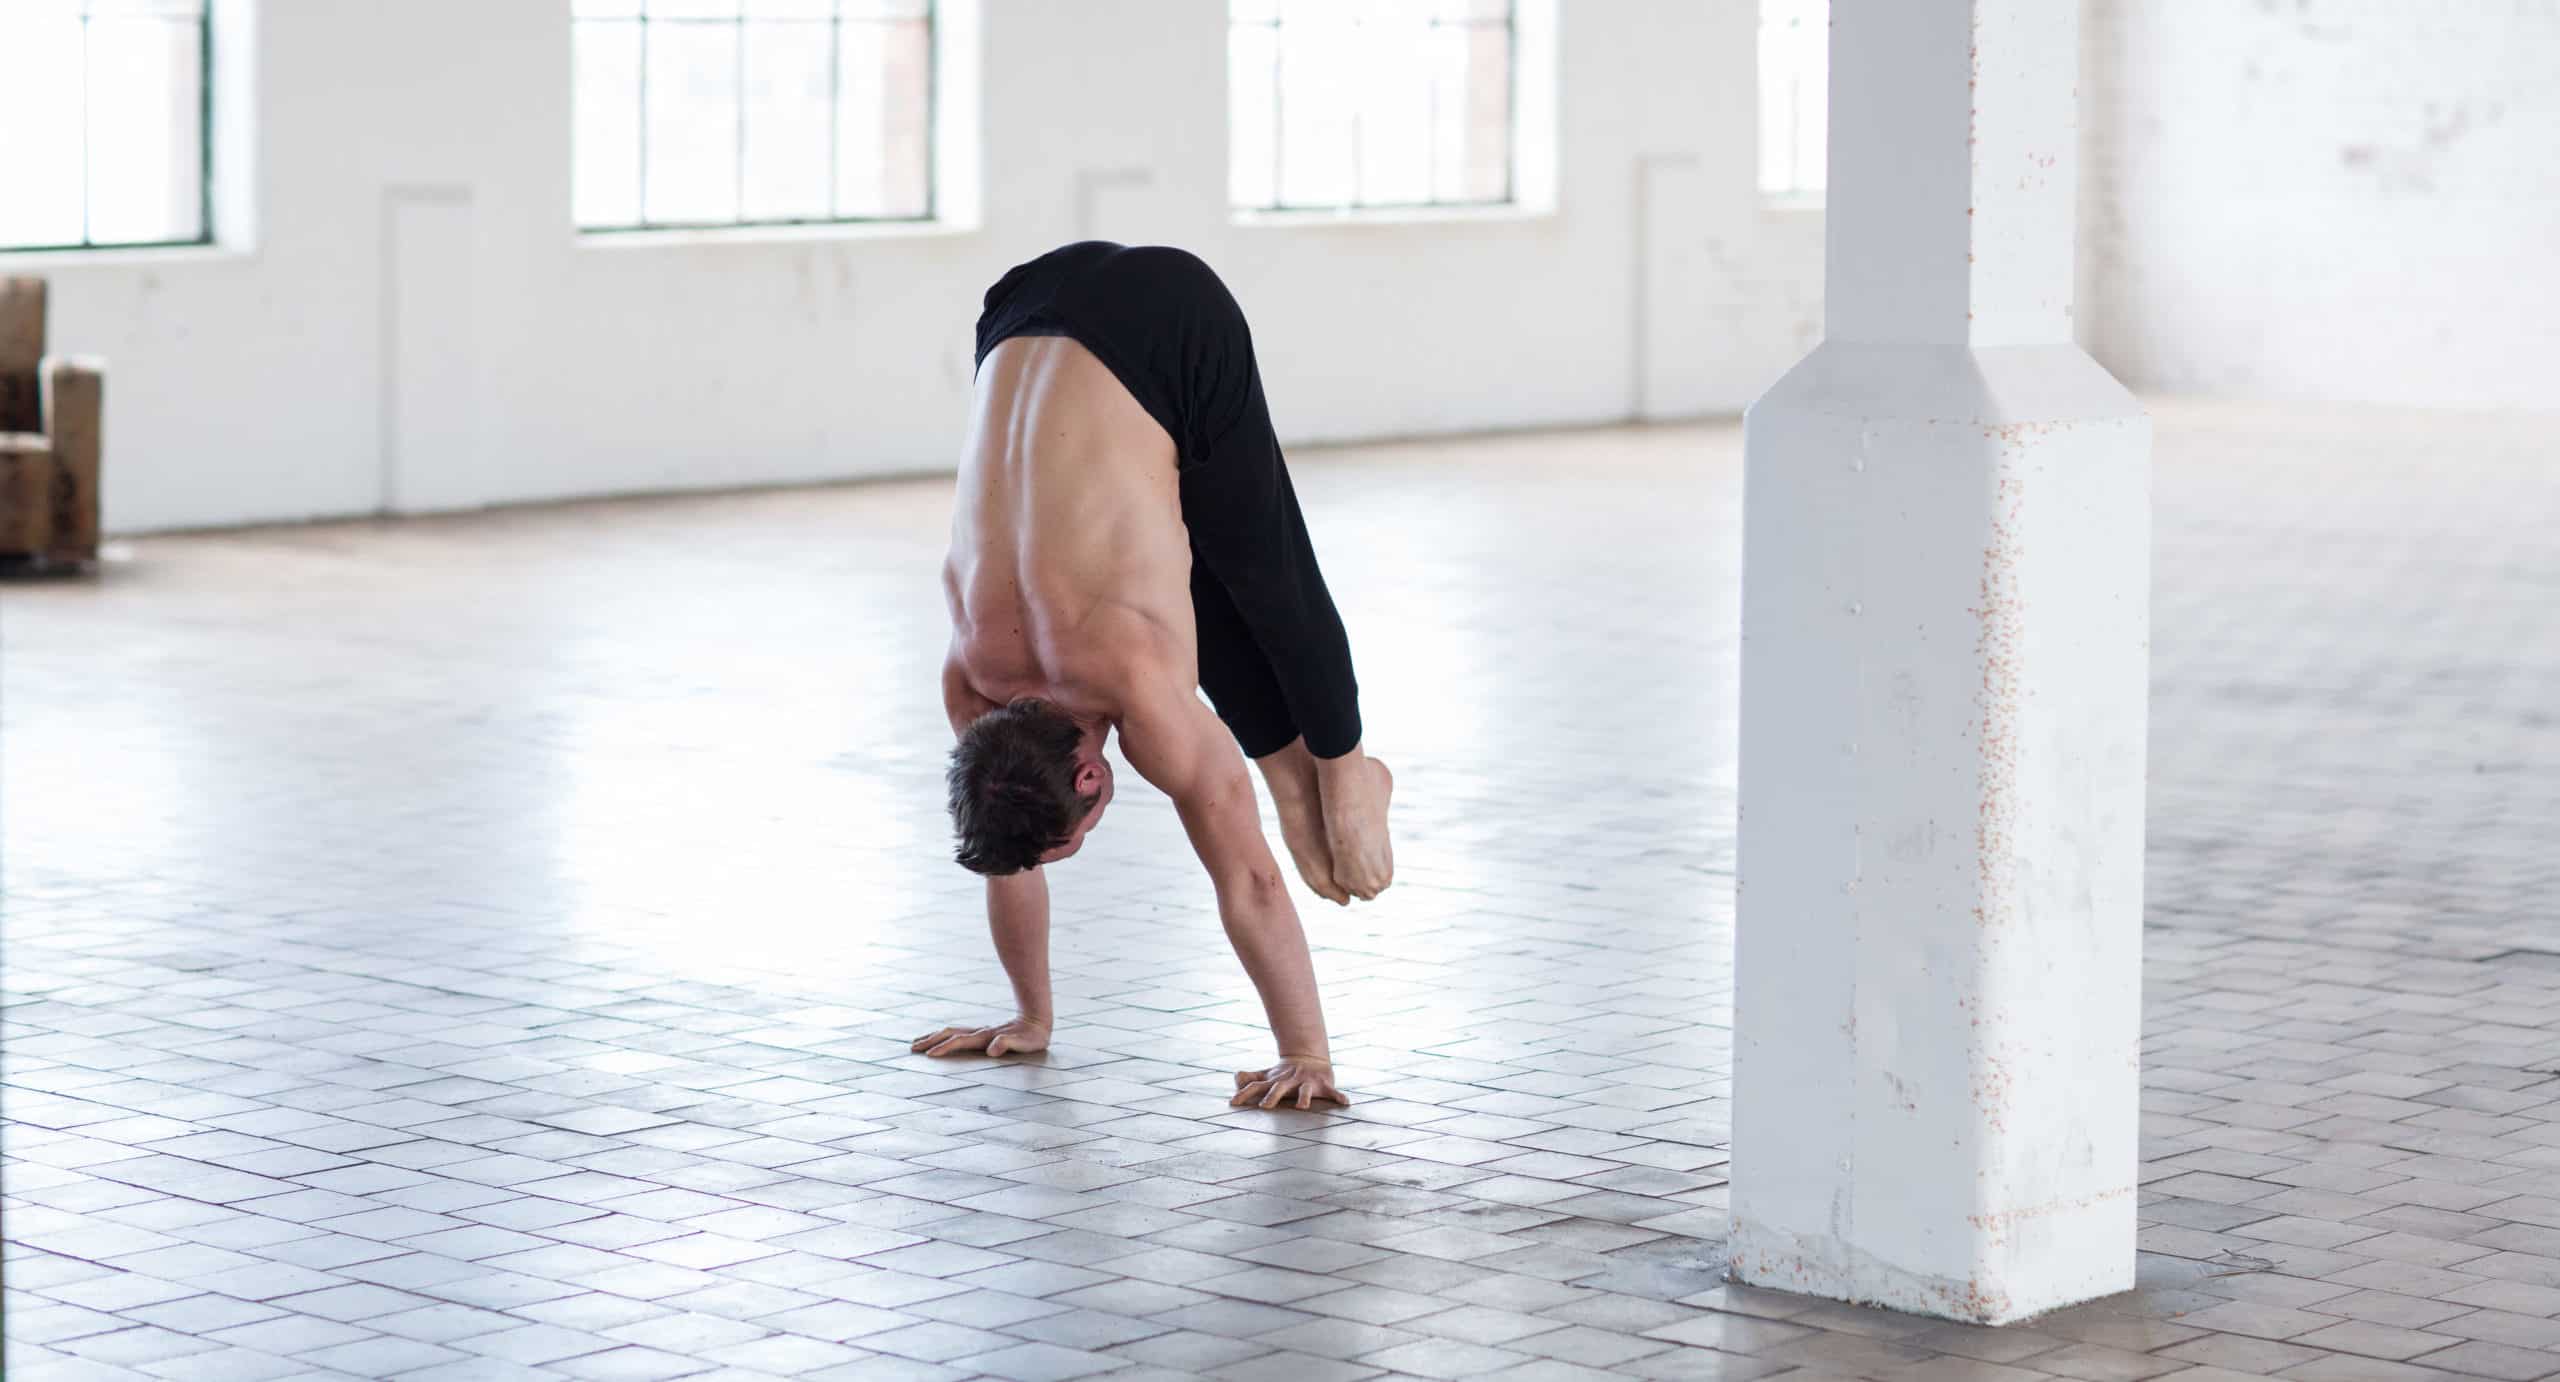
- Place hands slightly in front of knees, push down into floor and lift the hips similarly the Scapular Push to Standing Pike exercise.
- When you reach the top position, lean forwards while keeping the vertical pressure from your neck. This will increase the load on the shoulder region.
- Only lean as far as you can comfortably hold for at least 8-10 seconds.
Description:
Press lean isometrics is a way to develop some strength in the bottom of the press. The bottom is the hardest for many to learn and it is often the last part we get control of since its difficult to get much of a sense for whats even happening there. This exercise basically mimics the position we lift from, but without all the weight on the hands.
As you lean onto the hands you want to feel you are still pushing from your trapezius so that we discern this forwards lean from that of a planche style lean. The deltoids and arm will still be working of course.
As we are doing this we are flexing the shoulders to resist the forwards lean. Its this flexion of the upper arm that needs to be capable of pushing so hard the feet can come off the ground. If we are well folded at the hips and have quite stacked shoulder in the position, that requires substantially less force to do than if we are forced to lean more forwards.
If you find that your hamstrings are too tight to stay with straight legs here, you can bend them. It is better you bend them slightly and try to get an as vertical upper body for the purposes of this exercise.
Diagnostics:
If you find that you have to lean forwards a lot here to get the weight over the hands, try with bent legs, if you still need to lean a similar amount, its likely due to lack of overhead mobility.
Standing Side Leg Lift Isometric + Lifts
Key Details:
- Set up with your leg at a height from which you can generate force but not your max.
- Squeeze to the point of shaking.
- Keep your knees locked and your toes pointed to the point of cramping.
Description:
The side leg lift isometric can be considered a drill for lifting and controlling your legs in space.
The setup has the leg not directly to the side but slightly forwards. The goal in this motion is to keep the pelvis roughly level and not let it tilt one way or the other too much when doing the contractions.
Having a target, either a visual one or a partner’s hand, is very advantageous in this exercise.
There will be a temptation to start leaning to the side as you start to get to the limit of your current strength; a tiny tilt is OK but try to reduce it as soon as you can.
Straddle Jefferson Curls
Key Details:
- Set up your legs about 90-120 degrees apart.
- Make sure your feet cannot slide on the surface.
- Pull yourself deeper on each repetition at the bottom; do not just hang at the end.
- Find a target to reach and then try to go beyond it.
Description:
Initially, be conservative with the load. Starting as low as 5kg (10lbs) will be fine, and then slowly build up the weight from there. The main goal in this drill is to articulate the spine in the flexed position, then let your hips roll over before lengthening out further towards the ground.
There’s one key detail that’s a game changer: When you are in the bottom of the stretch, don’t just hang there but actively pull yourself deeper. It can help to think of pushing the weight or the top of your head towards the floor.
When you initiate the return to standing, you want to squeeze your legs together to contract your adductors.
If you find that gaining flexibility doesn’t come easily, longer hold times in the bottom position will help improve your range of motion in the pancake.
If you find it difficult to sit on the floor in a pancake, we would encourage you to take a video of yourself doing the straddle Jefferson, screen cap the bottom position and then rotate the screen 90 degrees so you are “seated” on the screen. You might be surprised at how good your pancake looks and that the only thing stopping you from getting there is a lack of strength and control in the hip flexors, as you need to replicate the force of gravity internally when seated.
Feeling ready to train the press?
Press
Straddle, Pike and Stalder Press to Handstand
Did you find this conditioning session useful? Challenging? Train with us to achieve your first standing press with the Handstand Factory Press online program.
And unlike other online programs, our Press program convers not just the standing press, but also the pike press and even the advanced Stalder press.
INCLUDES
106 Page Manual | 40 Videos
12-18 Months of Programmed Training
Pancake and Pike Flexibility Modules
Forum Support | Lifetime Access