Day 7

It’s not about strength, it about technique… or is it??

It’s been one week since you started your handstand journey with us. While it might seem like we’ve covered a lot of ground (and we have), one week is hardly enough time to truly develop the strength or technique you’ll need for a solid handstand.

So if you have been feeling a bit overwhelmed by the content this week, that’s ok! The concepts we are introducing to you each day are things you can train and apply for weeks to months and still make gains. But what kind of gains? That’s what we’ve written about today.

Strength

Strength within physical activity can be seen as the ability to produce power. This is a very blunt and simple definition, but we have to remember that bodily strength will be rather specific to a certain movement, activity or sport. For example, a gymnast, powerlifter and football player might all be good at producing power, but in very different ways.

For this reason it’s useful to consider strength to be highly context dependent. It’s the ability to produce power in a specific movement or coordination that makes it valuable. One of the reasons I believe strength has gotten a bad rep is that people often (wrongly) associate strength with gym goers who “just lift weights to get big muscles”.

On top of this, many handbalancers are not very muscular looking and also very technically proficient, which further leads to the idea that strength is a redundant capacity for handstands. The big misunderstanding here is that the handbalancer IS very strong, but at a very particular skill. They don’t need a 200kg squat to balance on their hands, so their body’s aesthetic will develop differently than someone who trains to squat that much weight. (As a side note, handstands are also very dependent on flexibility which allows us to reduce the amount of energy needed to execute certain moves.)

Technique

Technique can be seen as the execution of a task in a specific and planned manner. It’s a cornerstone of disciplines like circus, gymnastics or Olympic weightlifting. Both the sleek look of a professional handbalancer or a perfectly executed flip exudes technical perfection. “It looks so easy” you often hear when a task is done with so little seeming effort. There is truth to this too! When a skill is so well honed, it doesn’t take as much effort, the coordination and experience means it requires less power than what a beginner would need.

A handstand will simply use less energy per second for an experienced balancer than for a beginner. However, it still requires contraction of the appropriate muscles, which is an expression of strength. For the beginner, just holding the weight up for 10 seconds might be hard! This is not because they “lack technique” necessarily, they just do not have the strength to hold their body with ease, yet. Being strong enough to attempt the skill at all comes first, technique comes later.
The interplay between the strength and technique

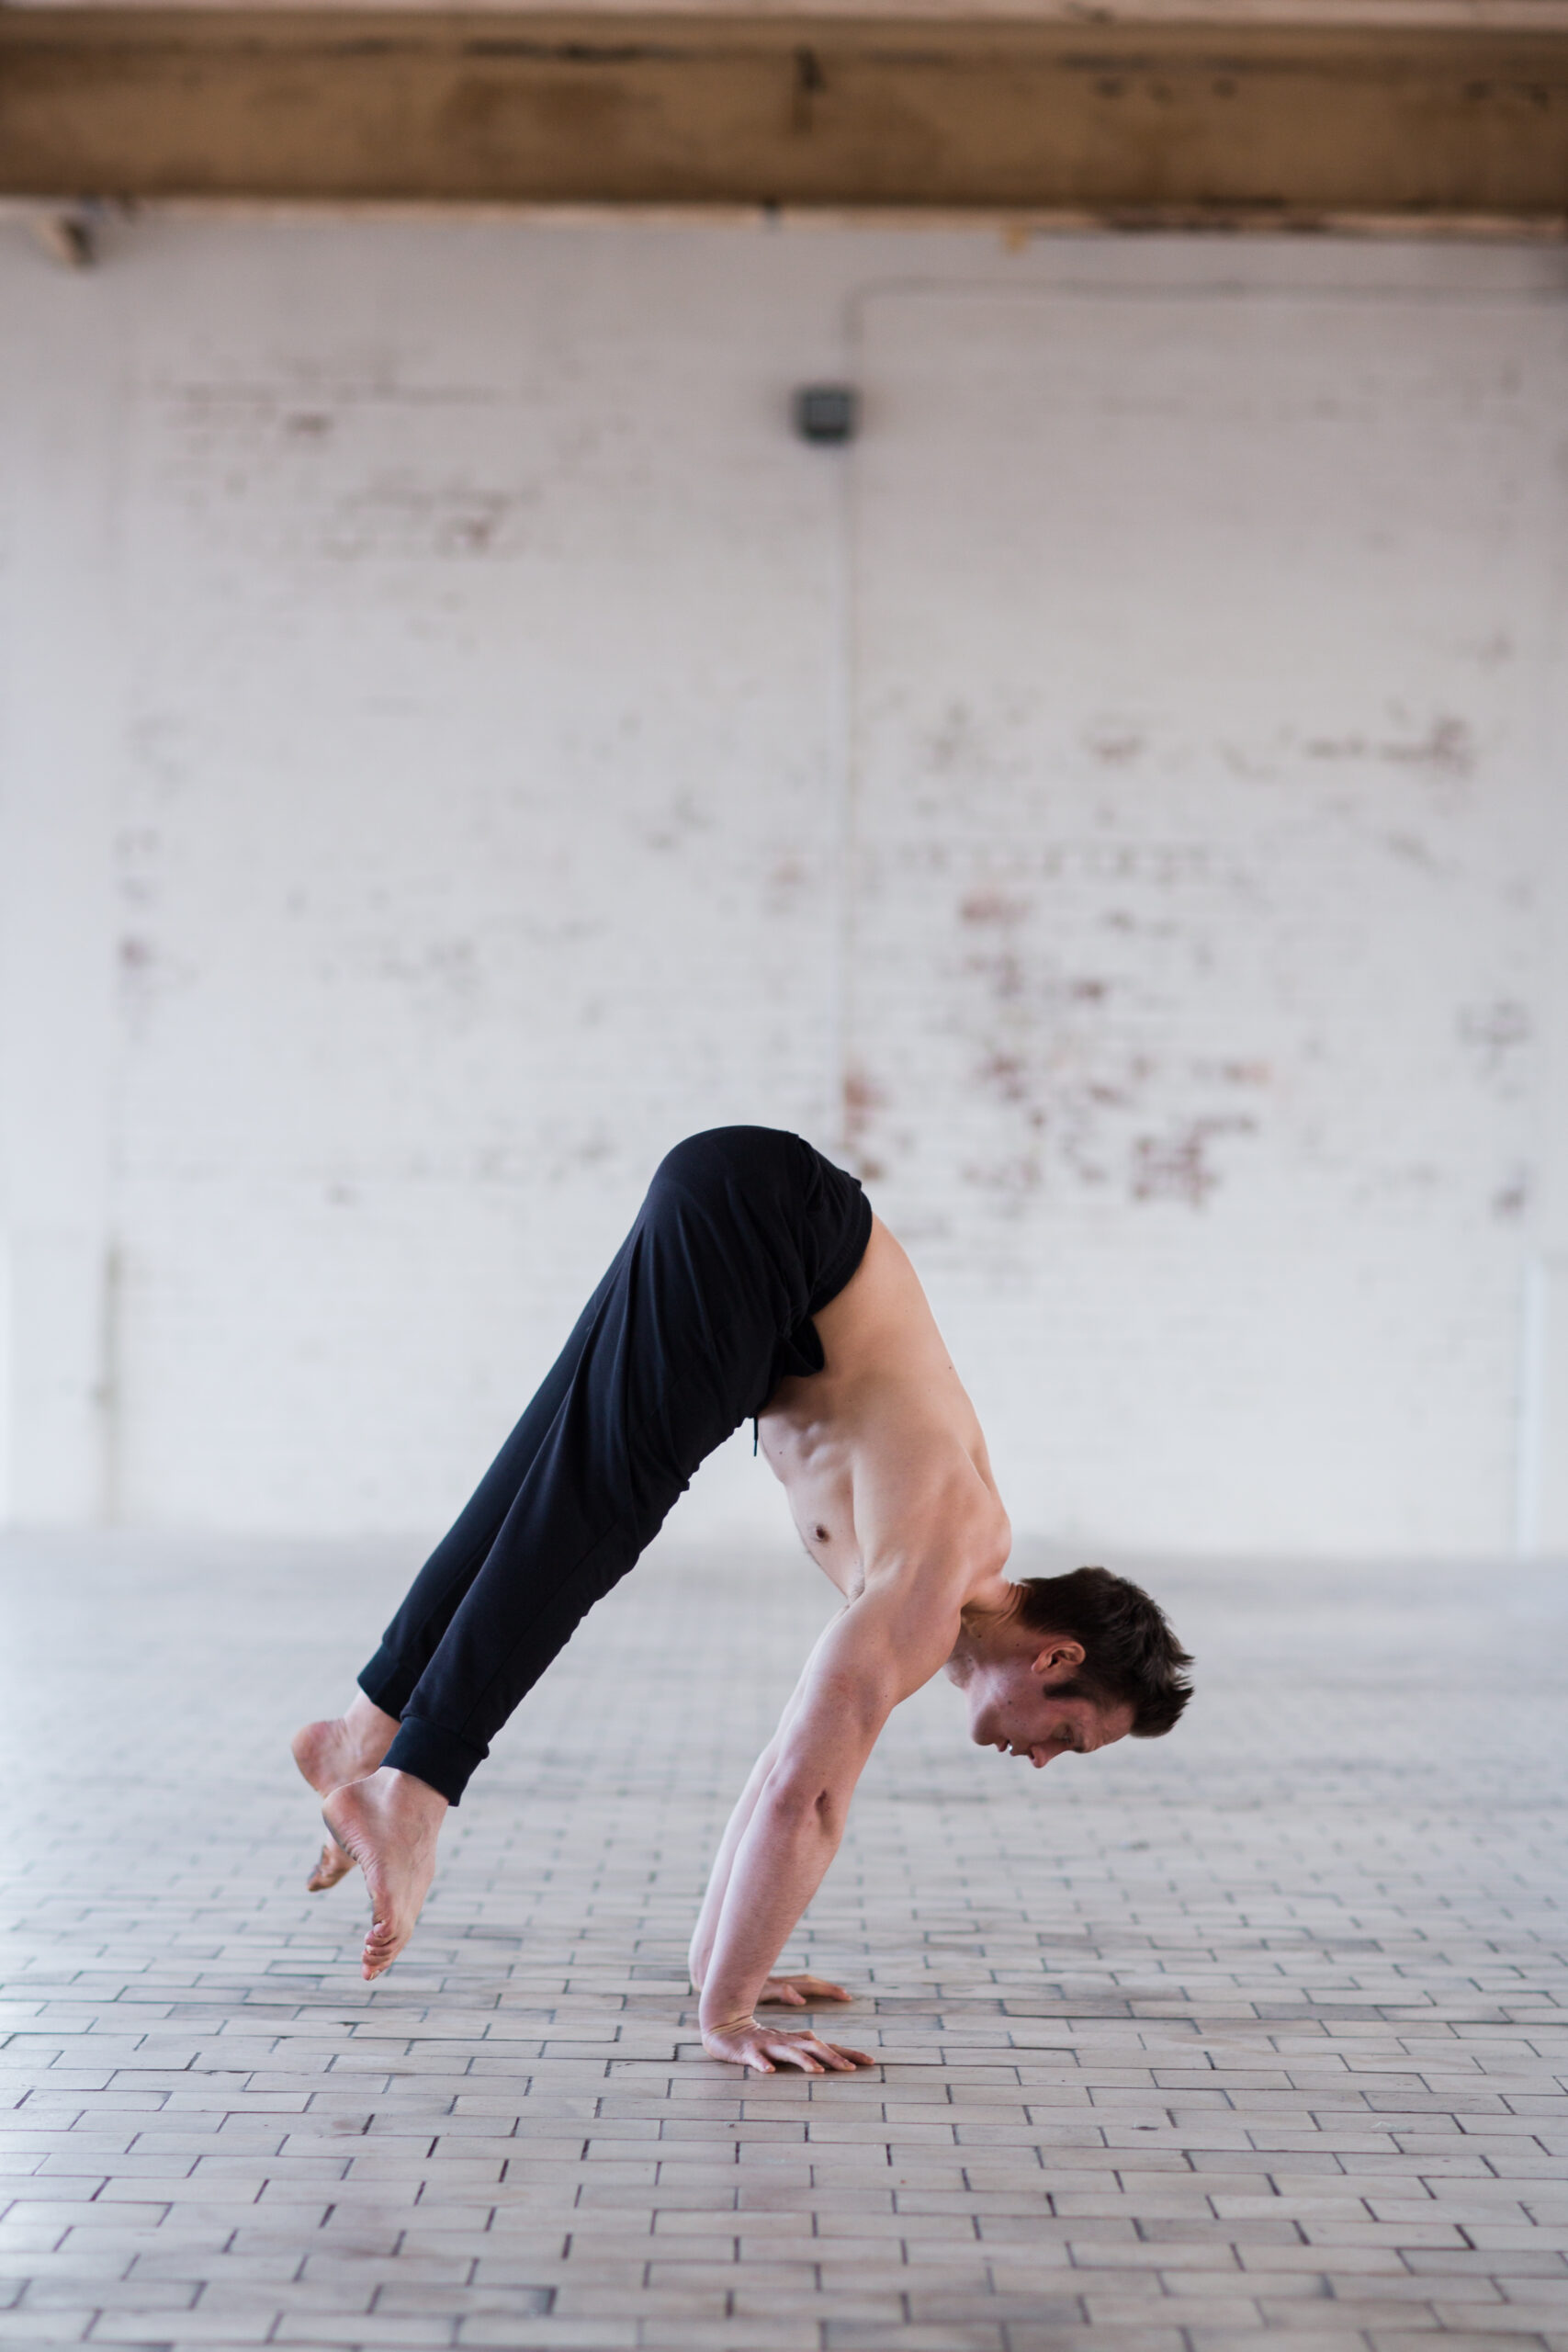
The relationship between strength and technique is like a dance, one will follow the other. But which one leads switches frequently. You need to condition your body to get strong enough to execute a solid shoulder position in your handstand (strength leads). Then, as you get more comfortable holding yourself, you notice you wobble less and have more mental energy you can focus on details (technique leads). These details make the execution of the placement and balance a bit easier and more effortless – until you’re on your hands for so long fatigue sets in. At that point strength takes the lead again, and endurance drills may become a focus for a time. This interplay between emphasising physical adaptation and then technical proficiency will cycle continuously not only as you pursue higher skills in handbalancing, but even in maintenance work or coming back from time off.

Regardless of where you are in your handbalancing journey, this interplay between the pure physical capacity to “do the thing” and the skill training itself both matter. But it’s important to remember that when learning a new handstand skill such as your first handstand, a press or a one-arm, you will very likely need to build up some of the specific strength needed too.

Let’s get back to developing both strength and technique with today’s training session:

For this session we first repeat the turning drills. If you feel comfortable enough, try to cartwheel down from the wall. If it feels scary, keep working on the turning drills. It might take some time to build the safety and courage to actually go for the cartwheel down.

Next, we concentrate on endurance. This does not mean you need to go to the extremes to get any results, but you want to push a little bit past the physical comfort zone.


  • A: Wall Turns
    • 5-10 total attempts. Rest as needed between attempts.
  • B (optional): Cartwheel Out at the Wall
    • 5-10 total attempts. Rest as needed between attempts.
  • C:  Chest-to-Wall Handstand or  Incline Body Line Drill
    • If you are comfortable being inverted choose the chest-to-wall handstand, if not then do the incline body line drill at a challenging, but secure angle.
    • 3-5 sets
    • Close to maximal hold
    • Rest as needed between holds
    • 2 min rest after all sets
  • D:  Stick Flexion
    • 3 sets
    • 15 second hold followed by 5 lifts
    • 60 second rest between sets
Wall Turns

Description:
Big deal for a lot of beginners and a huge hurdle to pass for many. This fear is also something that can be hard to relate to as a coach who has had an intuitive falling method for years. ⁠

This is a practical setup for learning the fall from a rather safe setup. You get comfortable with each part before moving to the next. Find out first what hand you would want to move. In general this will be the 2nd hand you place on the floor when doing a cartwheel.⁠

First you just shift weight and walk your hand out from the wall so its at a diagonal or in front of your supporting hand. Legs can keep a lot of weight on wall.⁠

Next you bring 1 leg from the wall and step with the hand. When you get comfortable, try to pull the leg off first and respond to the shift in weight with the hand after.⁠

Once this is doable, cartwheel down from the wall with the same setup. The cartwheel doesn’t need to be pretty, in a line, with straight legs or anything like that. Before anything it needs to be safe. Over time this will become an intuitive movement you will be able to exit your handstand from, resulting in the fear simply disappearing.⁠

Cartwheel Out at the Wall

Key Details:

  • Find out which is the second hand you place on the floor in a cartwheel; this will be the one you will move and step out on.
  • Pull the same-sided leg off the wall until you star t falling (right leg if right arm moves)
  • Keep arms straight to reduce the risk of injury.
  • It does not need to look pretty; it just needs to be safe.

Description:
This is perhaps the simplest and most useful way of safely exiting a handstand (bailing) for beginners. It teaches you to safely reach the floor with your feet and, most importantly, never to lose sight of the ground before you are down from your handstand. It does not need to look pretty; it simply needs to be safe and intuitive. Using the wall is one of the best ways to develop this.

First, make sure you figure out which hand you would want to move. This will most often be the second hand you would place on the floor for a cartwheel. If this is your right hand, you will be pulling your right leg from the wall as well and vice versa.

Get into a stomach-to-wall position; make sure you are set up well and then start pulling your chosen leg off the wall. You need to commit to this leg’s pull so that you will actually start falling over. Keep your shoulders pushed up and as the weight of your leg passes over you, move the chosen hand forwards and land on your legs. Exactly which leg you land on and how it looks is irrelevant. What matters is that you learn how to do it in a safe, controlled and intuitive way. You will thereby eliminate the fear of falling over.

Chest-to-Wall Handstand

Key Details:

  • Begin with a little bit of distance from the wall.
  • Look at the floor.
  • Push high through shoulders and try to stack shoulder over the middle of the hand to the degree you can. Do not push chest towards wall and open t-spine.
  • Keep toes pointed, legs locked and glutes tense to practice the pelvic tilt.

Description:
The chest-to-wall hold is the go-to exercise for developing capacity, form and a feeling for the handstand. This exercise does not teach you much about balance, but it is essential for developing correct body placement, building specific strength and acclimatising you further to the feeling of being upside down.

Make a checklist when you go up into the handstand, where you make sure your toes are pointed, legs and glutes are squeezed tight, shoulders pushed up and that you are looking at the floor. The toes should be the only thing touching the wall. You want to make sure your shoulders are placed over your hands so you are not opening them too much and pushing your chest out towards the wall.

Incline Body Line Drill

Key Details:

  • Take your time to set up nicely here, elbows locked as best as you can.
  • Push shoulders high and inline with the torso as best you can.
  • Make sure to not sag in the mid section.

Description:
This drill is a great introduction for new handstand trainees.

Its main feature is that it gets you on your hands in a manner that most people can achieve. It is incredibly safe in that, if you need to exit quickly, you can just step off the wall. It also uses less wrist extension than holds that are closer to the wall. So if you need to work on your wrist flexibility, this will start getting you inverted while your wrist development catches up.

One of the main things to work on here is finding all the alignment cues from the straight body hold in this position. It is not a resting position where you are wedged into the wall but it is alive, meaning that the shoulders are working, and you are pushing through the arms. The body is, in other words, tight and not sagging.

Some things you can play with is deliberately sagging then finding the line again so you begin to build up a sensation library of what things might feel like when you lose the line and how you might be able to restack your position while inverted.

Stick Flexion

Key Details:

  • Push against an immovable object.
  • The aim is to get to the handstand line not beyond it.

Description:
In the video a partner applies the resistance, but if you are training alone, other options would be to use the bottom rung of a set of stall bars, putting the stick through the handle of a kettlebell or holding two heavy dumbbells.

After the isometric holds, we demonstrate the lifts with an unweighted stick, but as you progress, you will want to add weight to the stick as you would in normal strength training.

One of the key things to think of here is that we’re trying to replicate the handstand line and position at the shoulder level, so make sure that you are slightly protracted and have the shoulders elevated. There’s a limit in this movement to how high you can lift without needing to move into retraction and internal rotation. Once this begins to happen, the movement then becomes closer to a dislocation type motion, which is not what we’re going for here.

As a general note, this drill serves as an excellent warm-up for the shoulders once you have gained the required range of motion needed for the handstand or any other activity requiring the use of the hands over head.