Day 3

Your shoulders are more flexible than you think!

We here at Handstand Factory believe that, unless you have trained flexibility extensively, you are probably a bit more flexible than you know. There are many false narratives around flexibility, such as that only the young or naturally gifted can become flexible. And these limit people’s abilities and desire to develop their range of motion. But such opinions don’t hold up to scrutiny. We know that the human body is constantly adapting and changing based on specific, imposed demands throughout our entire lives.

But sometimes it can feel like our body doesn’t understand how to respond correctly to such external stimuli. You may have had a muscle cramp when trying to stretch, or woken up the next day feeling tighter and more sore than before. This doesn’t mean your body lacks the capacity to develop flexibility, but rather that it needs to learn how to express it. Our methods teach a physical language of flexibility. And like with language, you must learn the grammar before you can grasp the meaning.
Today we’ll teach your shoulders some new grammar points. The shoulder is an incredibly complex joint that is held together not by bone in a socket, but solely by tensegrity of a multitude of muscles. This very system that keeps your shoulder together can also keep it from moving into new ranges. When contracting muscles to pull into overhead flexion, other stabilizer muscles will need to relax. But if these stabilizers don’t fully let go, then the agonists won’t be able to fully contract. It’s like a double-negative in a sentence; if muscles on both sides contract you’ll express the opposite of what you want.

The exercises today will give your body the correct grammar structure to express overhead flexion, so be sure to record your range before and after to see how a simple change in expression can reveal the truth: you’re more flexible than you think!

This small stretching session is focused around increasing the range your shoulders can move so that you do not need to fight your own body as you are trying to handstand. The stick flexions make a return here too. Those are done at the end of the stretching sessions so you can see if you feel that you can lift higher after you have done the stretching work first.

Side Lat Stretch

Key Details:

  • Make sure to place the foot behind the body; it will always be the same side leg as the side that is being stretched.
  • Find the angle that suits you.
  • Try to avoid arching in this one and let the shoulder come up to the ear.

Description:
Developing flexibility in this muscle, the Latissimus Dorsi, is essential to both keep the ribs down in a handstand and also to elevate the shoulders with ease in the handstand.

This muscle crosses a very large area of the body going from the arm, covering the whole flank and attaching close to the lumbar spine. We need to place the whole length of the muscle under stretch, as shown in the video.

We generally don’t tell people where they should or should not feel a stretch, but as a rule of thumb with this one, you need to feel it all along the side of the body, not just localised around the armpit.

If you find grip to be an issue here, you can use the straps people use for weight lifting to help lock you in place so you can focus on the stretch.

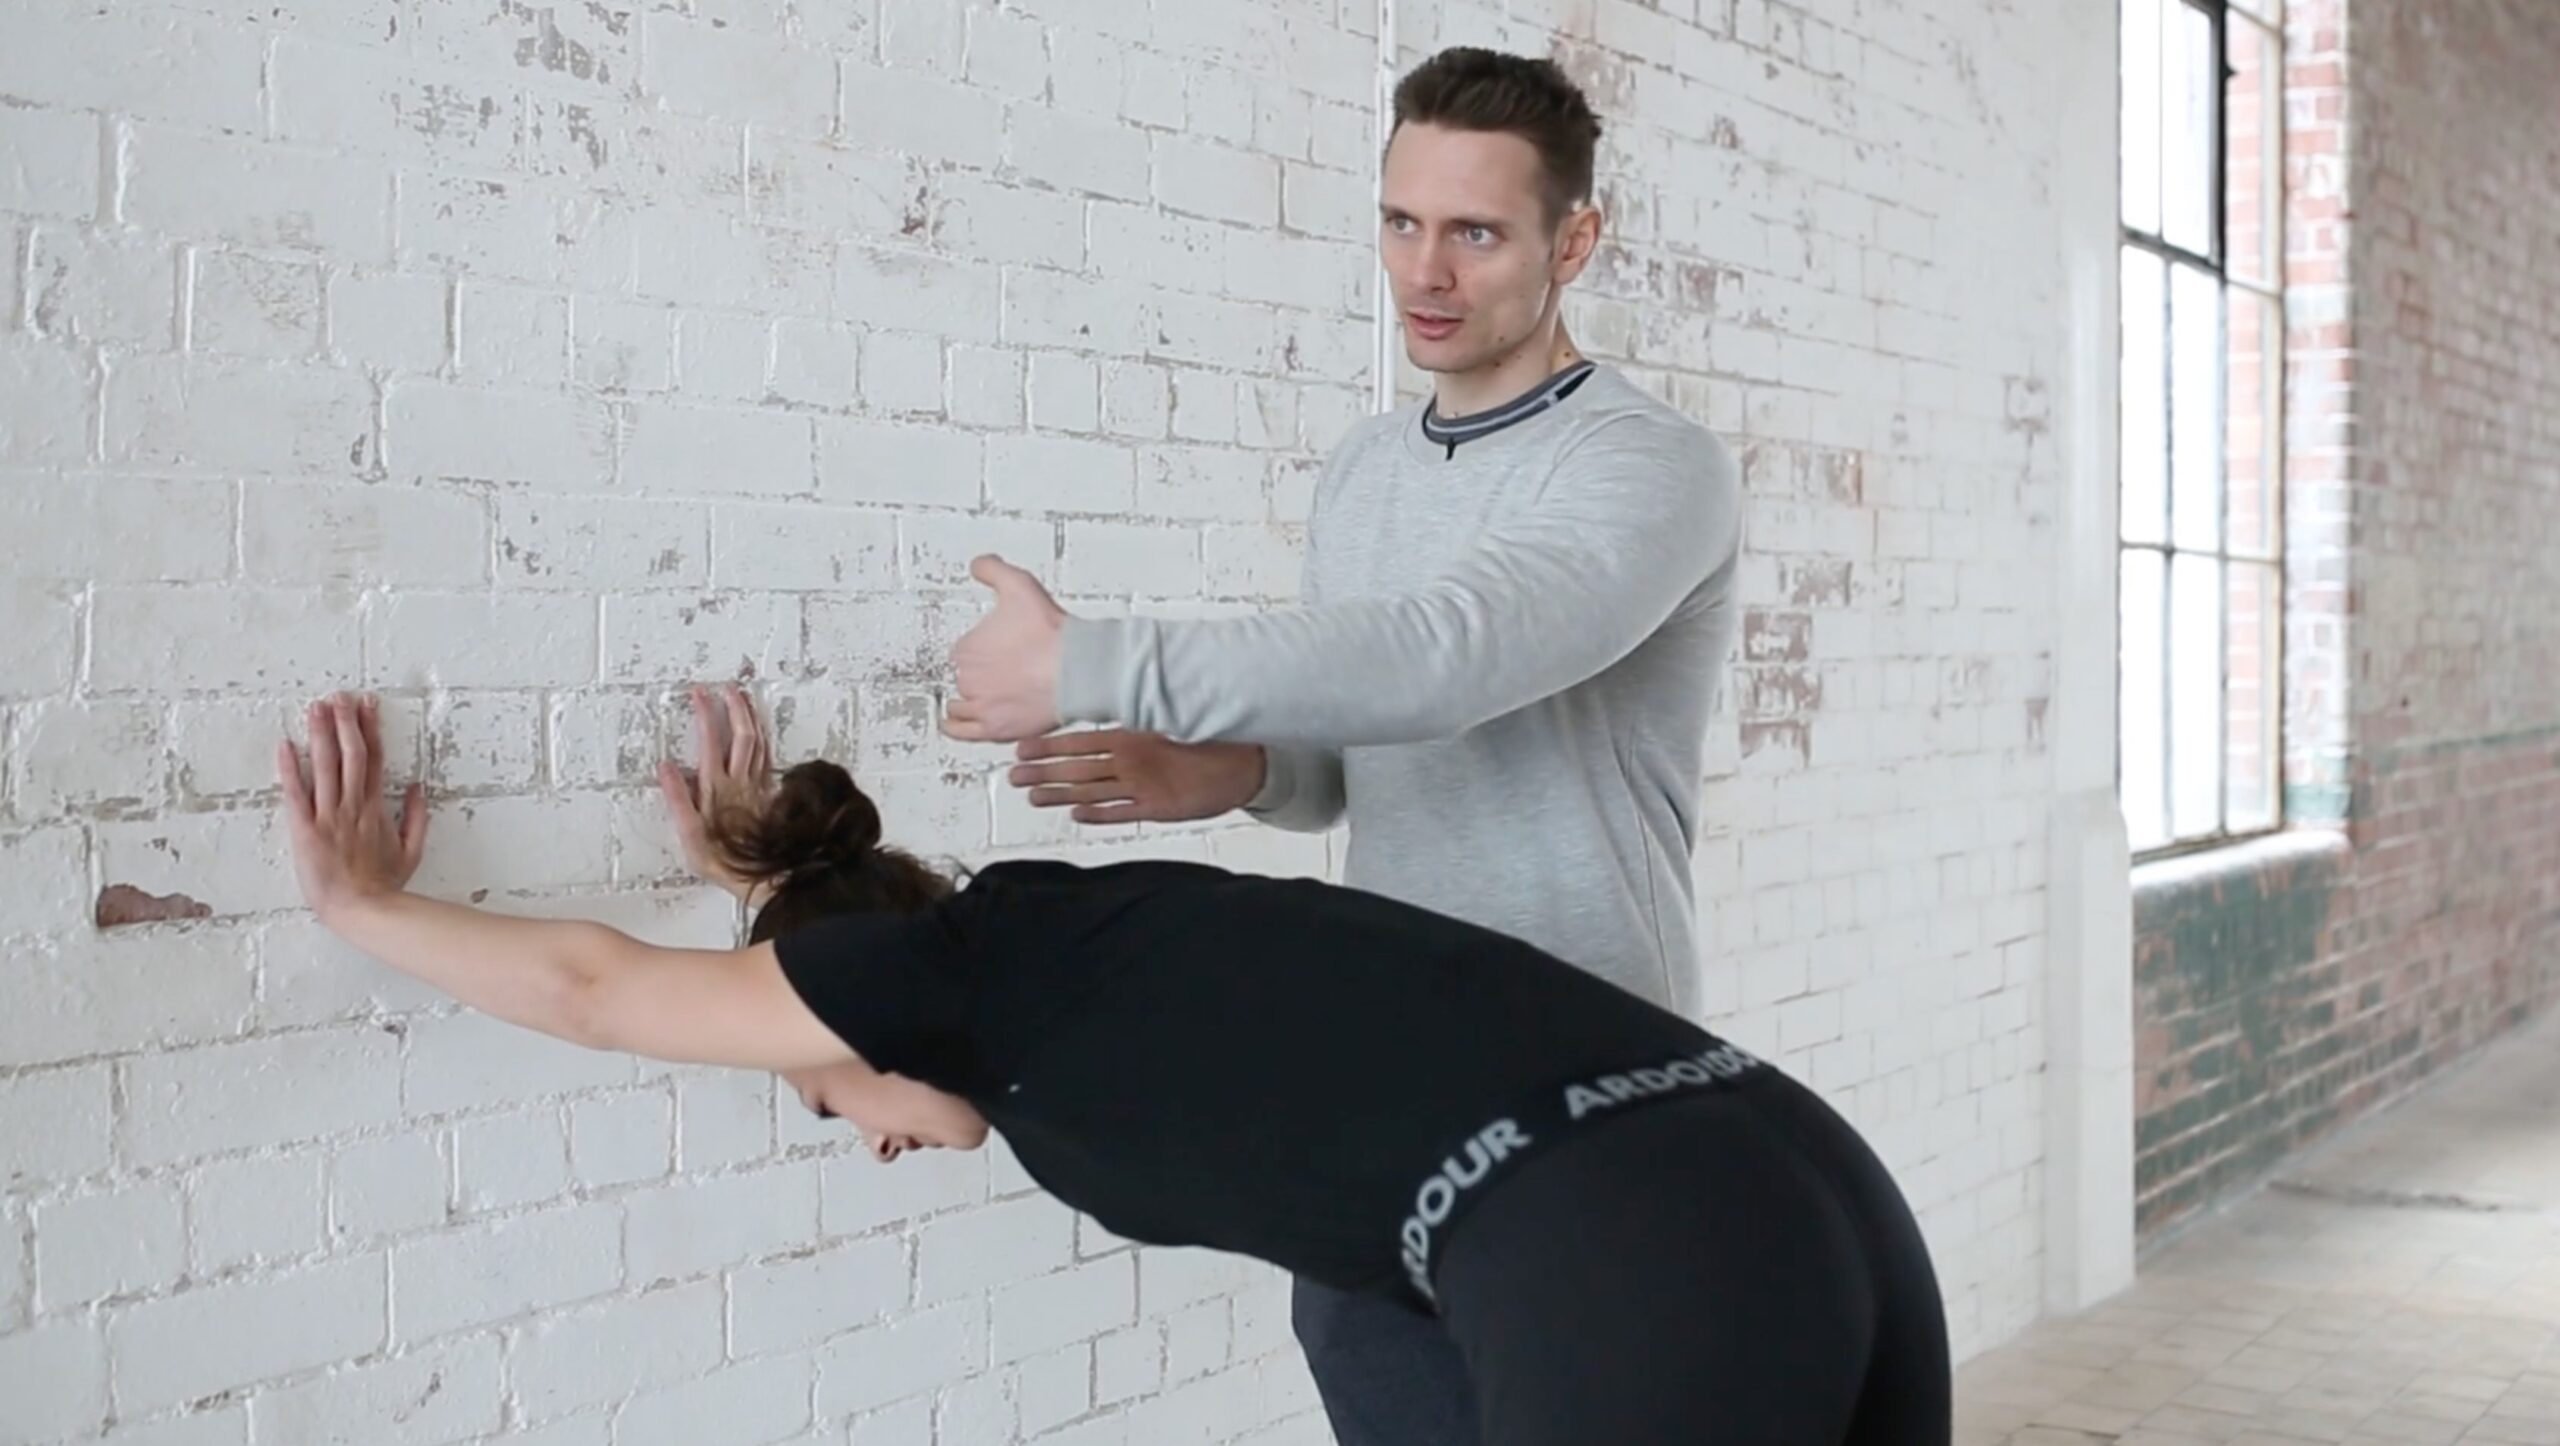
Wall Shoulder Stretch

Key Details:

  • Place the hands roughly the same width as you would in a handstand.
  • Round the back as you lean into the stretch.
  • Avoid internally rotating the arms.

Description:
In this stretch, the goal is to isolate the shoulder flexion from the thoracic spine.

Place your hands shoulder width apart on a wall (or elevated surface) and lean into the stretch. Imagine you are pulling the sternum up towards the ceiling as you apply the lean. This will cause your shoulder angle to close slightly and for the stretch to be focused on the actual flexion of the shoulder rather than being distributed into the thoracic spine as well.

Flexing the thoracic spine in this stretch is not necessarily bad per se, but we try to avoid it here to reinforce the shoulder placement that is specific to handbalancing. As you lean into the stretch, make sure you are not letting your shoulders internally rotate.

Stick Flexion

Key Details:

  • Push against an immovable object.
  • The aim is to get to the handstand line not beyond it.

Description:
In the video a partner applies the resistance, but if you are training alone, other options would be to use the bottom rung of a set of stall bars, putting the stick through the handle of a kettlebell or holding two heavy dumbbells.

After the isometric holds, we demonstrate the lifts with an unweighted stick, but as you progress, you will want to add weight to the stick as you would in normal strength training.

One of the key things to think of here is that we’re trying to replicate the handstand line and position at the shoulder level, so make sure that you are slightly protracted and have the shoulders elevated. There’s a limit in this movement to how high you can lift without needing to move into retraction and internal rotation. Once this begins to happen, the movement then becomes closer to a dislocation type motion, which is not what we’re going for here.

As a general note, this drill serves as an excellent warm-up for the shoulders once you have gained the required range of motion needed for the handstand or any other activity requiring the use of the hands over head.