Day 2
Strong Shoulders, not your “core”, are what matter for a stable handstand
Handstands have often been mystified as a “core” dependent exercise. While the mid section has a lot of important functions in a handstand, the main joint we need to concern ourselves with is the shoulder. There are a lot of ways to exemplify this, and I want to start with the little brother of the handstand, the headstand.

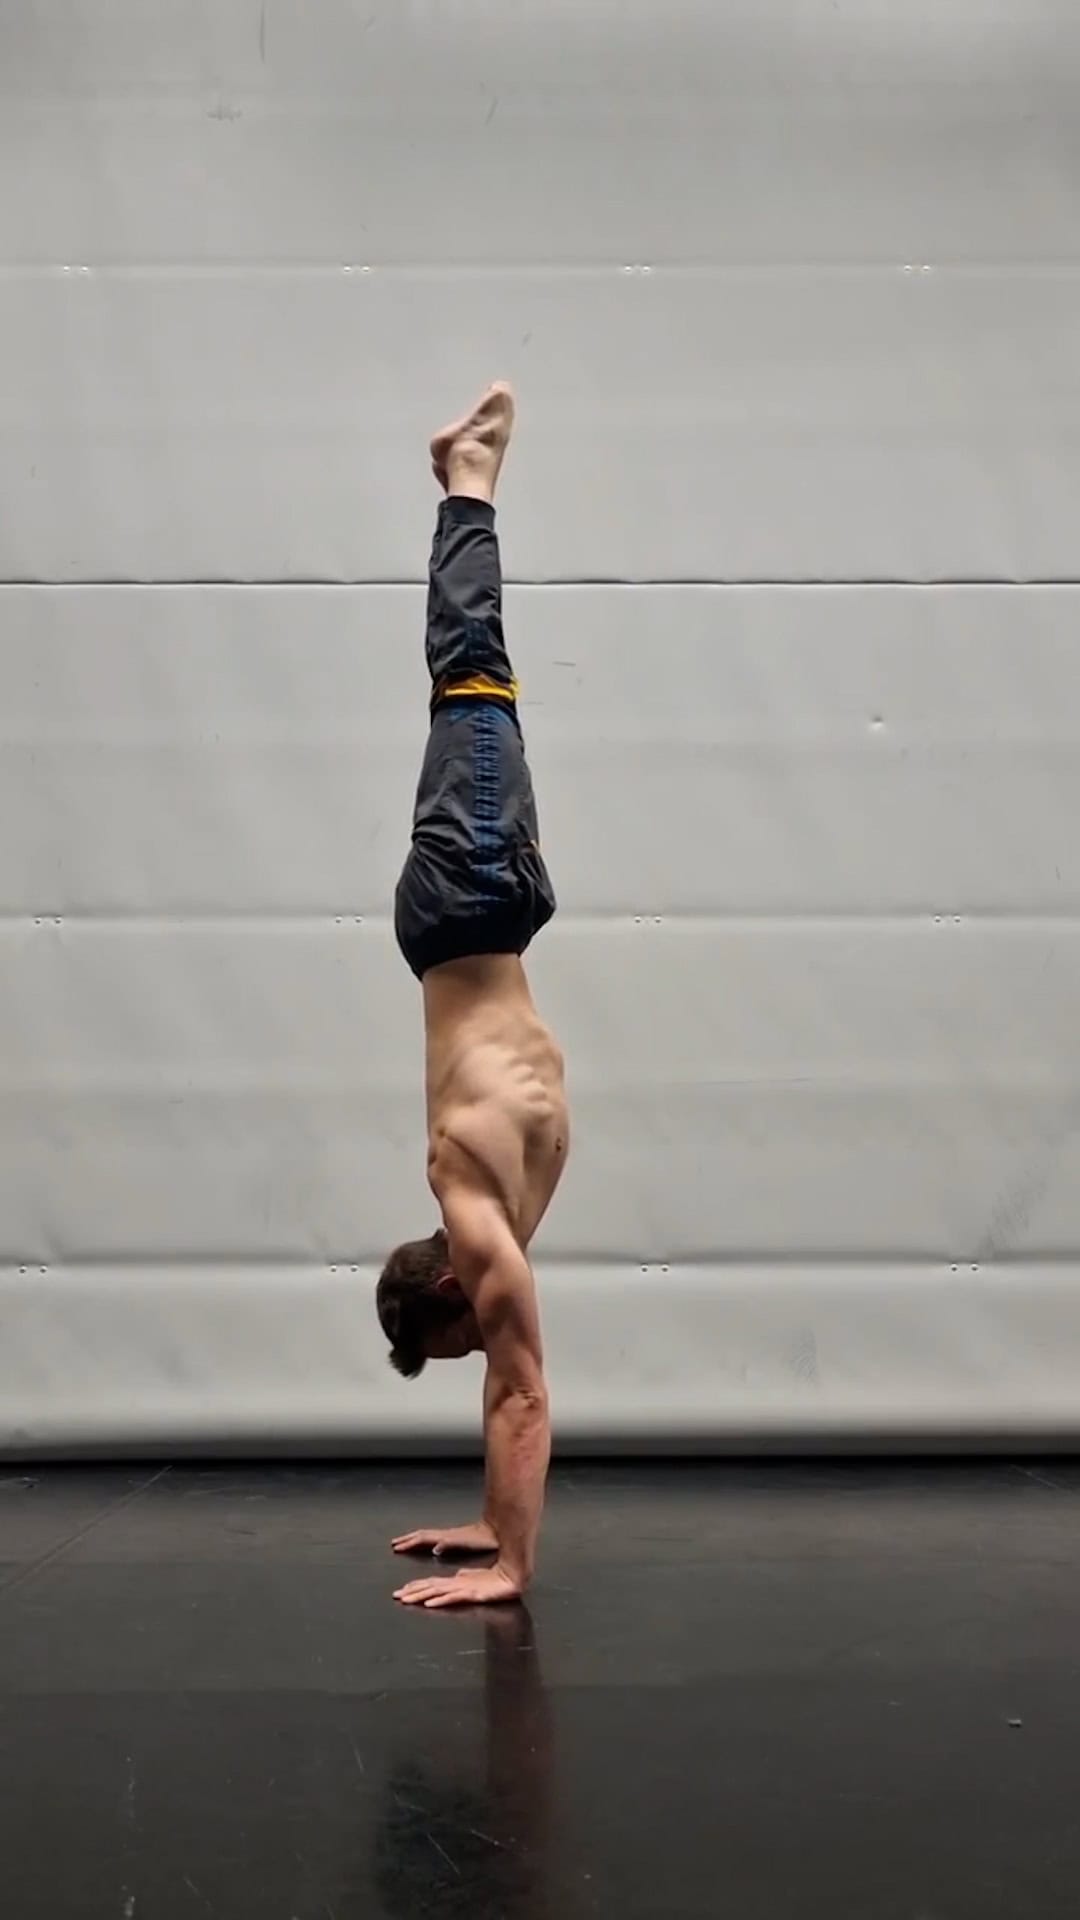
The body posture in a headstand and a handstand is nearly identical from the torso and down to the toes. In a headstand, the head obviously carries most of the weight of the body and there will quite naturally be a rather straight line from the head to the toes. With some tension in the glutes and legs, it is not too difficult to make the vertical line very clean and neat.
Standing on the head is also quite an easy skill to learn compared to the handstand. The placement of the weight, the skeletal structure, and the tripod position between the hands and the head makes it a sturdy position. There is little heavy muscular work going on as the neck is rather strong and there is no significant leverage in any direction.
Comparing this to the handstand and the glaring difference is the involvement of the most mobile joint of the body; the shoulder. The shoulders complicate staying upside down in many ways. The main issue is your shoulders need to act like your hips do; mobile joints that need to stabilize and stay in place for efficient balance. There is a huge difference in the stability of hips vs shoulders since your hips have a large socket for the femur bone, and the muscles around there are the largest in the body.
In comparison, shoulders are stabilized mainly by soft tissues. When we handstand we demand the scapular muscles to do a similar job to that of your entire hip joint! This does of course require quite some training for the body to adapt to, and the inherent instability of the shoulder joint will always be working against you to some extent. This is why it’s useful to focus on specific technique so that we train the same pattern of stabilization constantly. The more stable the joint can stay, the less force is required to make major adjustments to the body’s position.

On top of all this, bodies are as diverse inside as they are on the outside. Our bones, joints, tendon insertions and muscle structures are not identical. These types of differences do not show themselves as much in “daily” activities as they do when attempting to do very specific and difficult movements such as handstands. There is a huge amount of variation in the structure of peoples shoulders (acromion structure variations, tendon insertions, fusion of infraspinatus/teres minor fibres, bone angles and the list goes on) that may or may not influence our ability to handstand.
I am not writing this to discourage you from practising, but to shed light on an overlooked part of the practice; we try to adapt our bodies to a technique, but sometimes we might need to adapt the technique to fit our bodies too. This applies a lot to the shoulders in handbalancing. There is no use in trying to analyze your specific body structure to death, but keep in mind that your process is your own. Some might need more mobility work, others might need to focus on building strength. Certain individuals will struggle a lot to build up the coveted “open” shoulder position for a handstand while others just have it without ever training for it.
The shoulders are but one of several factors in the handstand, but one we can not go without considering. The control, mobility, strength and confidence we build through the scapular area is quite literally the main pillar of the handstand practice.
For today’s session, let’s experience this difference and then get to strengthening those shoulders 💪
Today we work specifically on the strengthening of the shoulders for handstands. The external rotation teaches us to pull the shoulders into the position we want, engaging the upper back muscles. When doing the chest to wall handstands, really push through the shoulders and focus on pushing your endurance just a little bit.
- A: Prone Stick Press
- 3 sets
- 10 second isometric hold followed by 5 lifts
- 2 min rest after
- B: Incline Body Line Drill or Chest-to-Wall Handstand
- If you are comfortable being inverted, choose the chest-to-wall handstand, if not then do the incline body line drill at a challenging, but secure angle.
- 3-5 sets
- 10-20 second holds
- Rest as needed between holds
- 2 min rest after all sets
- C: Protracted Push-Ups
- 3 sets
- 5-15 reps
- 60 second rest between sets
