Day 10

Solving the handstand “problem”

I remember reading an article by a guy named Mark Manson. He was writing about what makes people “happy.” He was not too big a fan of the term, and neither am I. An interesting reframing from his work is to think about “satisfaction” rather than “happiness”. What brought satisfaction to people? He said it was problem solving.

From this view, you can boil the various things you like to do down to problem solving. You have an obstacle or challenge. You handle that thing. The handling of the thing itself brings satisfaction.

Handstands have an extremely tangible parameter for this: either you stayed balanced on your hands, or you didn’t. That’s the entire thrill of circus, in a way. Performers risk failure by doing the thing. There’s catharsis in the overcoming, the success, and of transcending previous limitations.
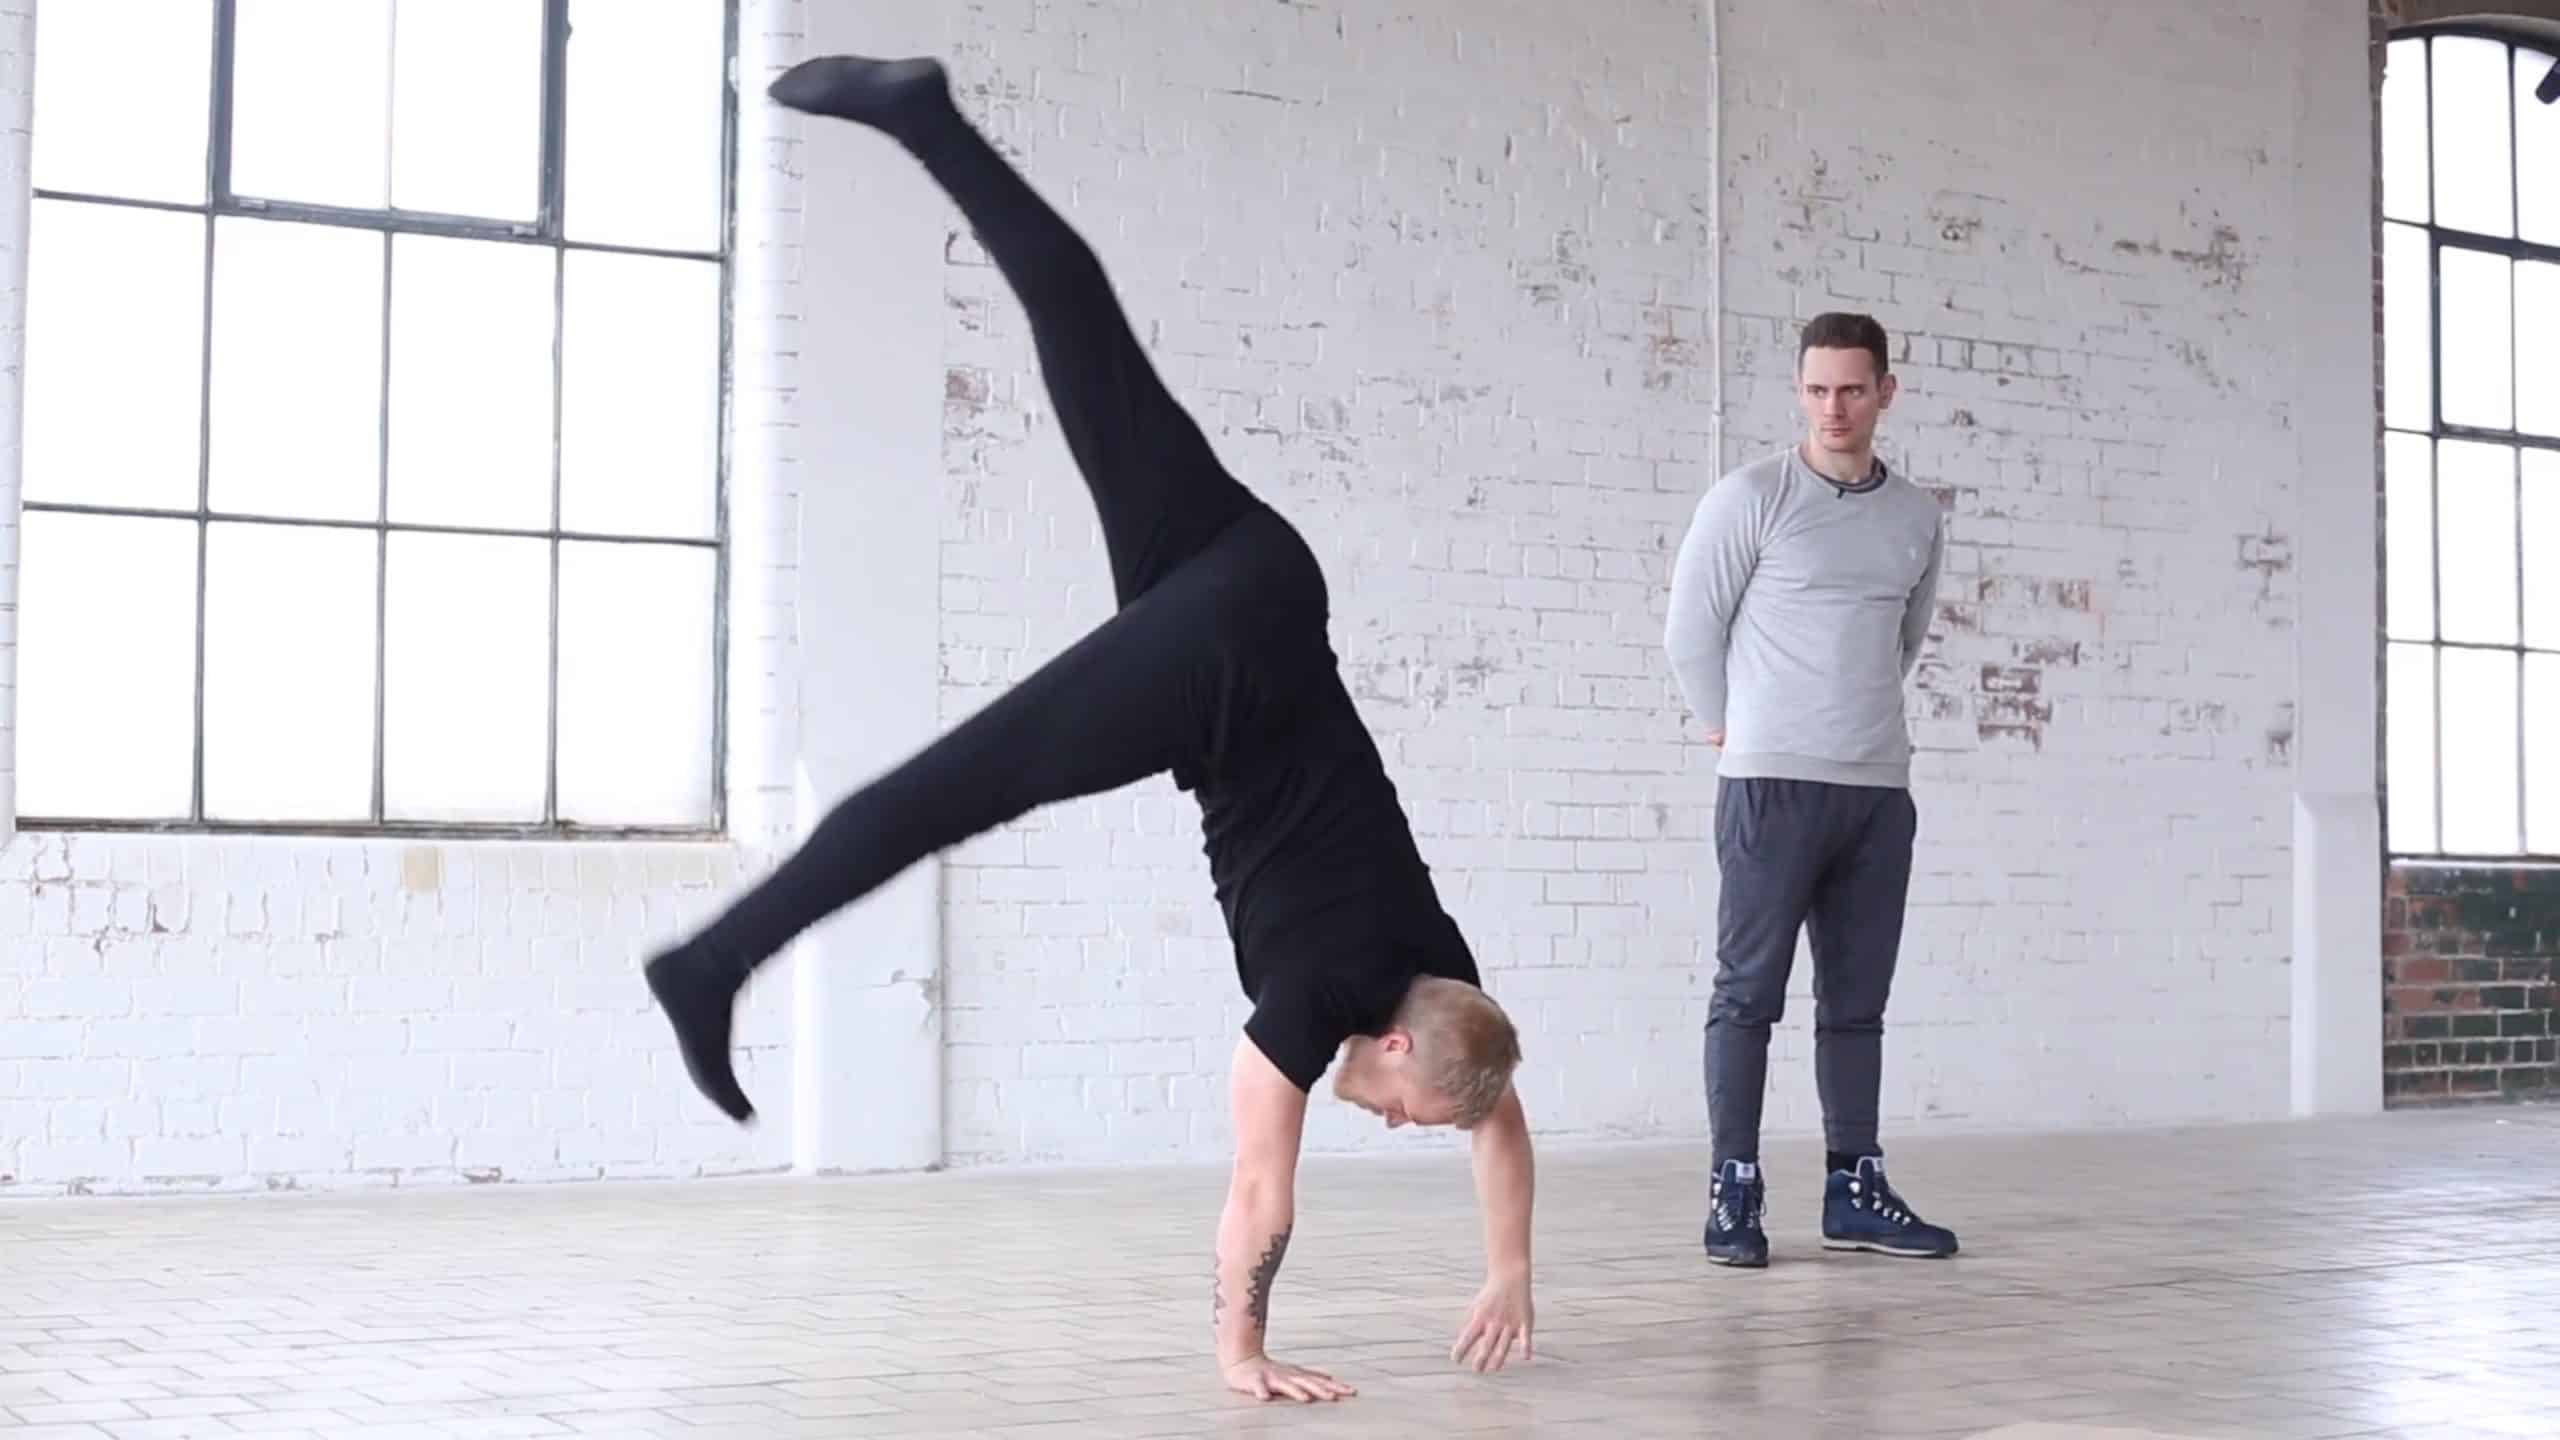
In handstands, you spend so much energy preparing your physical abilities, understanding, and finesse to be able to do this one skill. Yet in the moment, that whole preparatory process is not present. You’re there and everything becomes reactive; your focus is on this limited point of your existence, this moment in time on your hands.

You’re constantly problem solving every single second to stay balanced. This could be why handbalancing tends to attract obsessive people; you never know if you can solve the problem of the moment. I think it’s the same with juggling, and many movement arts with high volatility – you have to test and see if you can still do it, and you only know if you have the skill when you’re performing it.

Do I still have it today or not? Can I solve the problem again? It will be unique every time. That’s both where the challenge, and the satisfaction, lies.

– Mikael

You can think of these past 10 days you’ve trained with us as a collection of strategies and tactics to help you find the correct solution to whatever flavor the handstand “problem” poses that day. In today’s session we’ll purposely create the problem of losing balance, and apply those solutions into safe, comfortable exits to your feet!

For this day, balancing is the key. Starting off with back to wall balancing first before also doing chest to wall balancing attempts. Note that if you find it scary to fall from the chest to wall handstand still, work on the turning drills instead. We finish off the session with some heel pulls for further grip development.

Back-to-Wall Handstand

Key Details:

  • Strong engaged traps and shoulders during the kick-up⁠
  • Kick-up is controlled to lightly touch the wall (this will come with practice)⁠
  • Hands, shoulders, and hips stacked in a line⁠
  • Legs in a “Y” to balance each other out and minimize arching⁠
  • Steady press with the fingers to separate from the wall and balance⁠

Description:
This exercise tends to get a bit of a bad rep, as people can easily arch their back and fall into less efficient form.⁠

If done with the correct intent and setup though – with shoulders and hips placed properly – it is incredibly useful to teach us how to use our fingers in the handstand.⁠
⁠⁠
The end goal of this drill is to kick-up with so much control that your heel doesn’t actually touch the wall at all, but just hovers right next to it.⁠

As one gets stronger and more comfortable with that, as well as more comfortable with bailing out of a handstand, then moving on to more freestanding work becomes much easier!⁠

Freestanding Kick-Up to Balance

Key Details:

  • Today, after kicking up into balance, maintain the handstand as long as possible.
  • Kill the momentum and pause in the half kick-up position.
  • Make sure to join the legs in the centre.
  • Try to make sure the legs are locked here; pointing the toes can help with this.

Description:
It is normal for this to take some time to get consistent. It is quite common for people to already be able to hold a decent 20 to 30 second handstand before the kick-up starts to feel consistent. It is also the kind of exercise that will always benefit from being broken down and worked on the different components again.

It’s also normal to have some big swings in consistency in the kick-up: some days you’ll nail them all with ease and grace, and the next day you’ll feel like your arms and legs are now tentacles with a mind of their own.

Freestanding Cartwheel Out

Key Details:

  • Kill the momentum and pause in the half kick-up position.
  • Make sure to join the legs in the centre.
  • Try to make sure the legs are locked here; pointing the toes can help with this.

Description:
It is normal for this to take some time to get consistent. It is quite common for people to already be able to hold a decent 20 to 30 second handstand before the kick-up starts to feel consistent. It is also the kind of exercise that will always benefit from being broken down and worked on the different components again.

It’s also normal to have some big swings in consistency in the kick-up: some days you’ll nail them all with ease and grace, and the next day you’ll feel like your arms and legs are now tentacles with a mind of their own.

Cartwheel Out at the Wall

Key Details:

  • Find out which is the second hand you place on the floor in a cartwheel; this will be the one you will move and step out on.
  • Pull the same-sided leg off the wall until you star t falling (right leg if right arm moves)
  • Keep arms straight to reduce the risk of injury.
  • It does not need to look pretty; it just needs to be safe.

Description:
This is perhaps the simplest and most useful way of safely exiting a handstand (bailing) for beginners. It teaches you to safely reach the floor with your feet and, most importantly, never to lose sight of the ground before you are down from your handstand. It does not need to look pretty; it simply needs to be safe and intuitive. Using the wall is one of the best ways to develop this.

First, make sure you figure out which hand you would want to move. This will most often be the second hand you would place on the floor for a cartwheel. If this is your right hand, you will be pulling your right leg from the wall as well and vice versa.

Get into a stomach-to-wall position; make sure you are set up well and then start pulling your chosen leg off the wall. You need to commit to this leg’s pull so that you will actually start falling over. Keep your shoulders pushed up and as the weight of your leg passes over you, move the chosen hand forwards and land on your legs. Exactly which leg you land on and how it looks is irrelevant. What matters is that you learn how to do it in a safe, controlled and intuitive way. You will thereby eliminate the fear of falling over.

Heel Pull Corrections

Key Details:

  • No pushing off the wall with the feet; if you feel you have to push, set up closer to the wall.
  • Push the fingers into the ground to move the body.
  • Pay attention to the three different stages and master each one in turn.

Description:
We have two main corrections for the freestanding handstand, one for over and one for underbalance. This correction applies to overbalance, (i.e. leaning backwards). It is easier than correcting underbalance.

This drill trains your finger and forearm strength for handbalancing; it is also essential for developing a strong sense of balance on your hands.

We coach this exercise in three stages. First, we teach you to apply sustained pressure with your fingers; this sustained fingertip pressure pulls your heels off the wall and down to the floor.

Second, when you feel you can balance, squeeze your fingers with just enough pressure to come off the wall, hold the balance, and then squeeze the fingers again to come back down to standing. Third, try to find your balance and then, instead of coming down to the floor, go back to the wall into your initial setup position.

In this setup, it is likely that you might start finding a good balance and alignment. When this happens, we suggest just going for it and trying to hold as long as you can. It will begin to happen as you get past the complete beginner stage, but it is important not to chase them. Sometimes it just happens, enjoy it, but then on your next set get back to what you were doing and avoid ditching the training for chasing balances that may or may not happen.